

XTEE Omni Bowstand
Universal compound bow stand, designed to fit almost all models on the market without the need to purchase separate adapters. The structure combines carbon fiber legs with a high-strength ABS central body. The assembly utilizes a combination of shims and rubber inserts to achieve the perfect fit on the bow in less than a minute.
- Compatibility: Adaptable to bows with an internal limb gap between 22 and 33 mm.
- Adjustment System: Complete kit for precise millimeter calibration. Includes 2 rubber variants and 4 pairs of shims to match the clamp perfectly to the exact thickness of your limbs.
- Hybrid Structure: Carbon legs and polymer body, developed to guarantee maximum stability and withstand stress in all conditions.
- All-in-One Kit: All shims and rubber inserts for a universal setup are already included in the base package.
- Quick and easy assembly: Instructions provided below.
Why choose the Omni Bowstand
The XTEE Omni Bowstand is the universal bow stand designed to fit almost any modern compound bow, so you don't need to buy a different adapter for every bow or settle for a stand that doesn't really fit your model. Thanks to a precise millimeter adjustment system, it fits any compound bow on the market with a limb gap between 22 and 33 mm, giving you a stable fit with no extra purchases.
Structure and materials
The hybrid structure combines lightweight, stress-resistant carbon fiber legs with a high-strength ABS central body that ensures stability even on heavier bows.
What's included in the kit
- Rubber: 2 variants (grey and black) depending on limb thickness
- Shims: 4 combinable pairs, for precise millimeter adjustment
- Locking blocks: secure the chosen setup in place
- Compatibility: compound bows with a limb gap of 22 to 33 mm (measurable with a caliper)
Quick setup guide – XTEE Omni Bowstand
1. Measure your bow
Use a caliper or a ruler to measure the inner gap between the two limbs, at the point where you will place the bowstand.
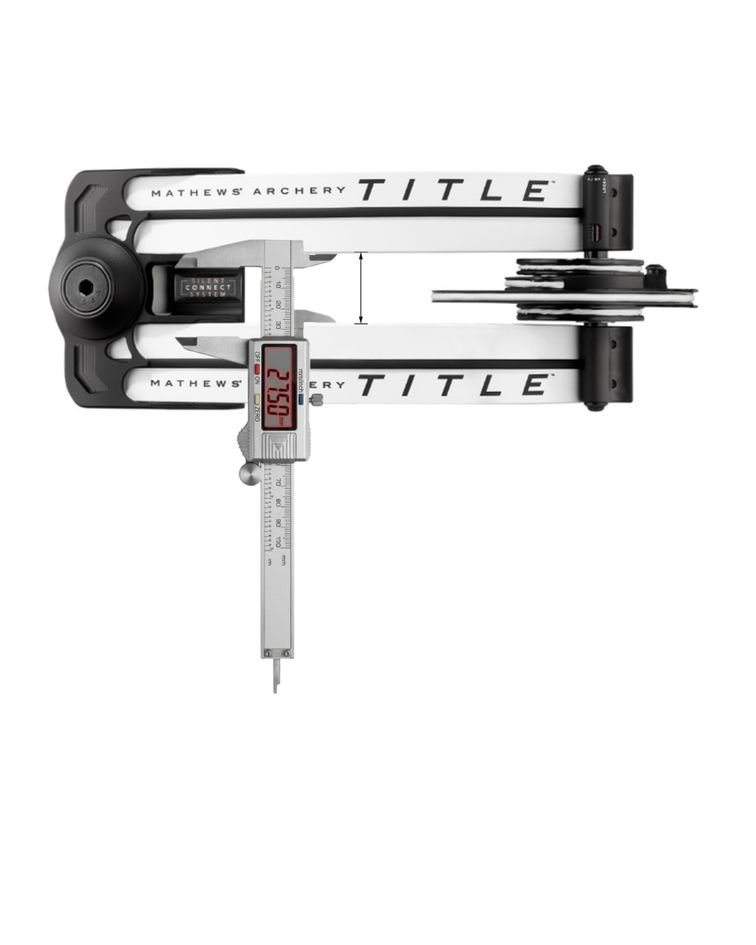
2. Find your setup
Find your measurement in the first column and fit the components shown.
| Measured gap | Rubber | Recommended spacers |
|---|---|---|
| 21 mm | Grey | 0 + 0 mm |
| 22 mm | Grey | 0 + 1 mm |
| 23 mm | Grey | 1 + 1 mm |
| 24 mm | Grey | 2 + 1 mm |
| 25 mm | Grey | 2 + 2 mm |
| 26 mm | Grey | 3 + 2 mm |
| 27 mm | Grey | 3 + 3 mm |
| 28 mm | Black | 0 + 1 mm |
| 29 mm | Black | 1 + 1 mm |
| 30 mm | Black | 2 + 1 mm |
| 31 mm | Black | 2 + 2 mm |
| 32 mm | Black | 3 + 2 mm |
| 33 mm | Black | 3 + 3 mm |
The recommended setup is 3 mm wider than the measured gap, so the stand holds by compression and stays perfectly stable. You can deviate from these values as you prefer.
3. Assembly
Inserting the rubber
Insert the rubber diagonally into its seat, then push it in until it is fully seated.
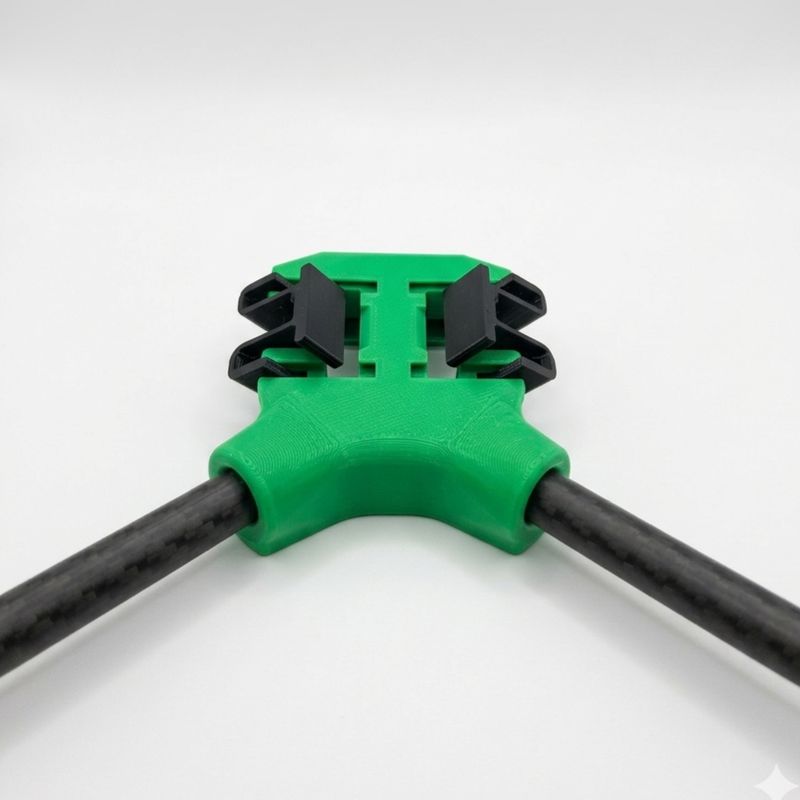
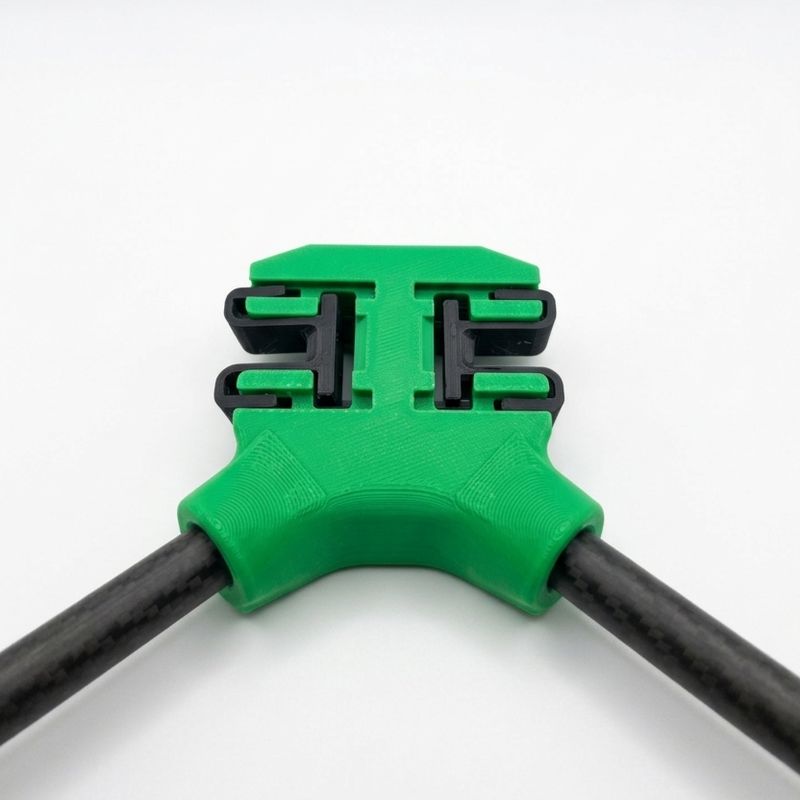
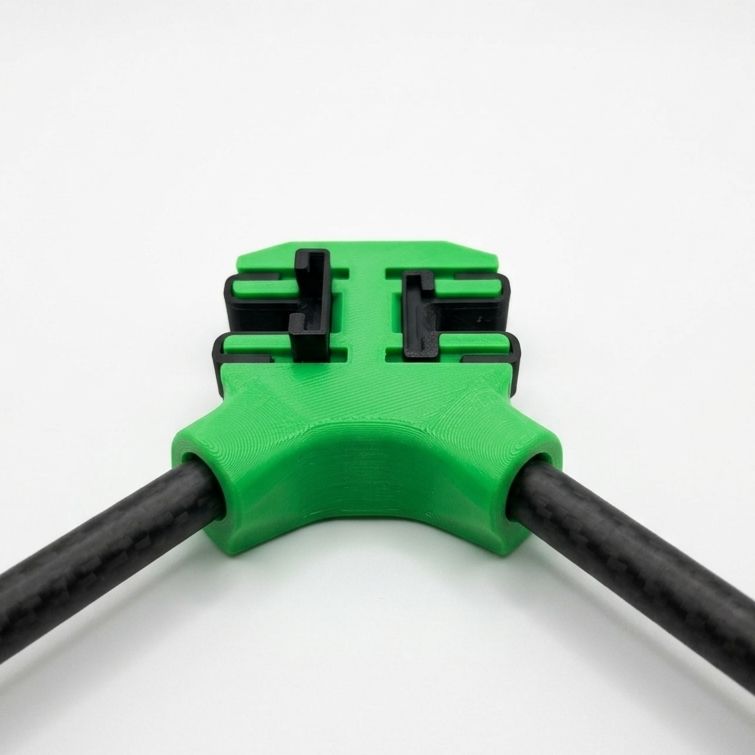
Inserting the spacers
Fit the chosen spacer so that it “hugs” the rubber in its housing, then push it all the way in.
Locking
Slide the locking blocks in from the side and push them all the way in.
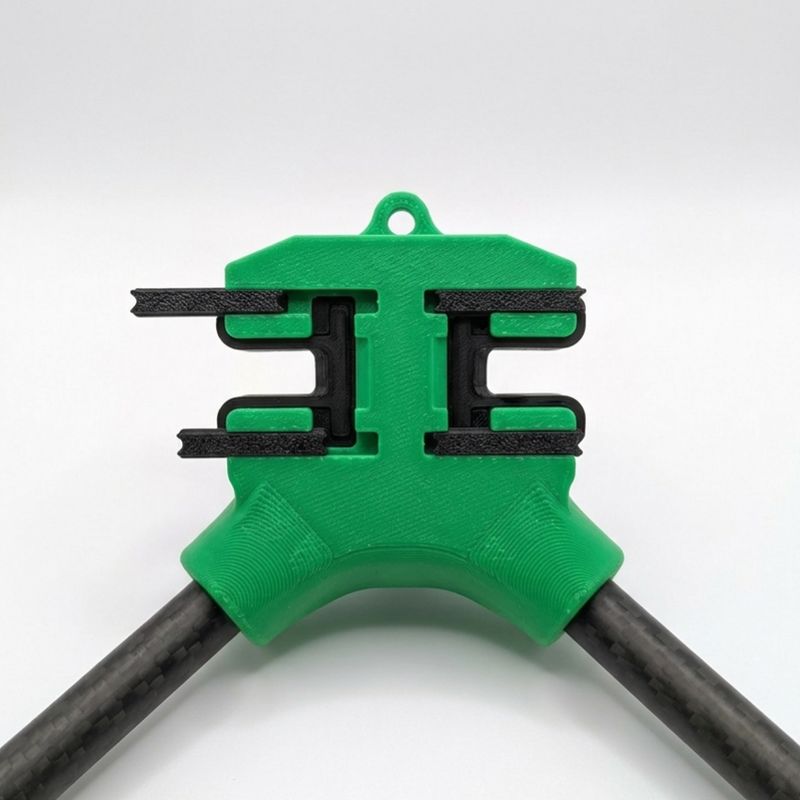
4. Changing setup or maintenance
Removing the locking blocks
Slide the blocks out sideways: push them out through the dedicated groove using a screwdriver or a pointed tool.
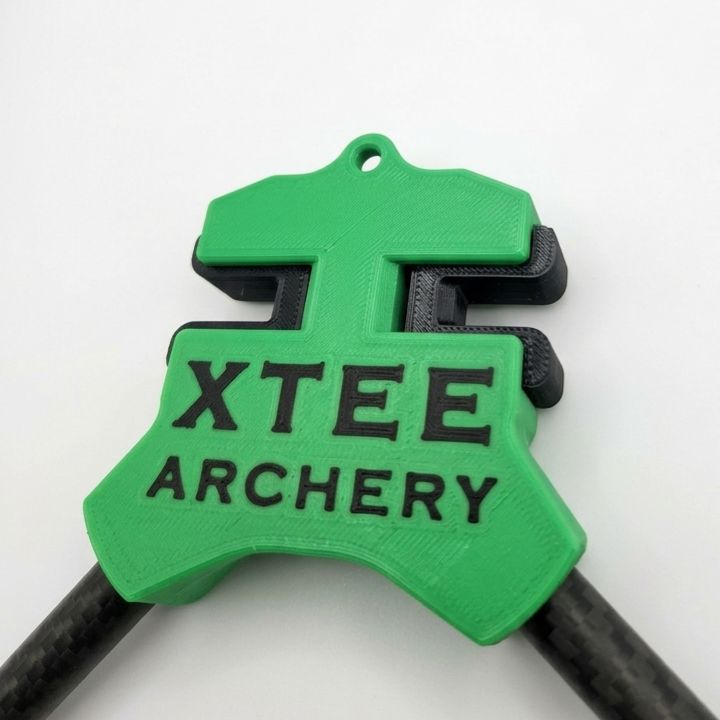
Removing the spacers
While holding the rubber in place, push the spacer out from the back of the stand (see photo) with a small screwdriver.
Replacing the rubber
If needed, remove the rubber diagonally (reversing the insertion steps) and replace it.
| Colour | Black, Blue, Green, Light Blue, Navy Blue, Olive, Orange, Pink, Purple, Red, White, Yellow |
|---|


